eSIM Installation Guides
Get your eSIM up and running

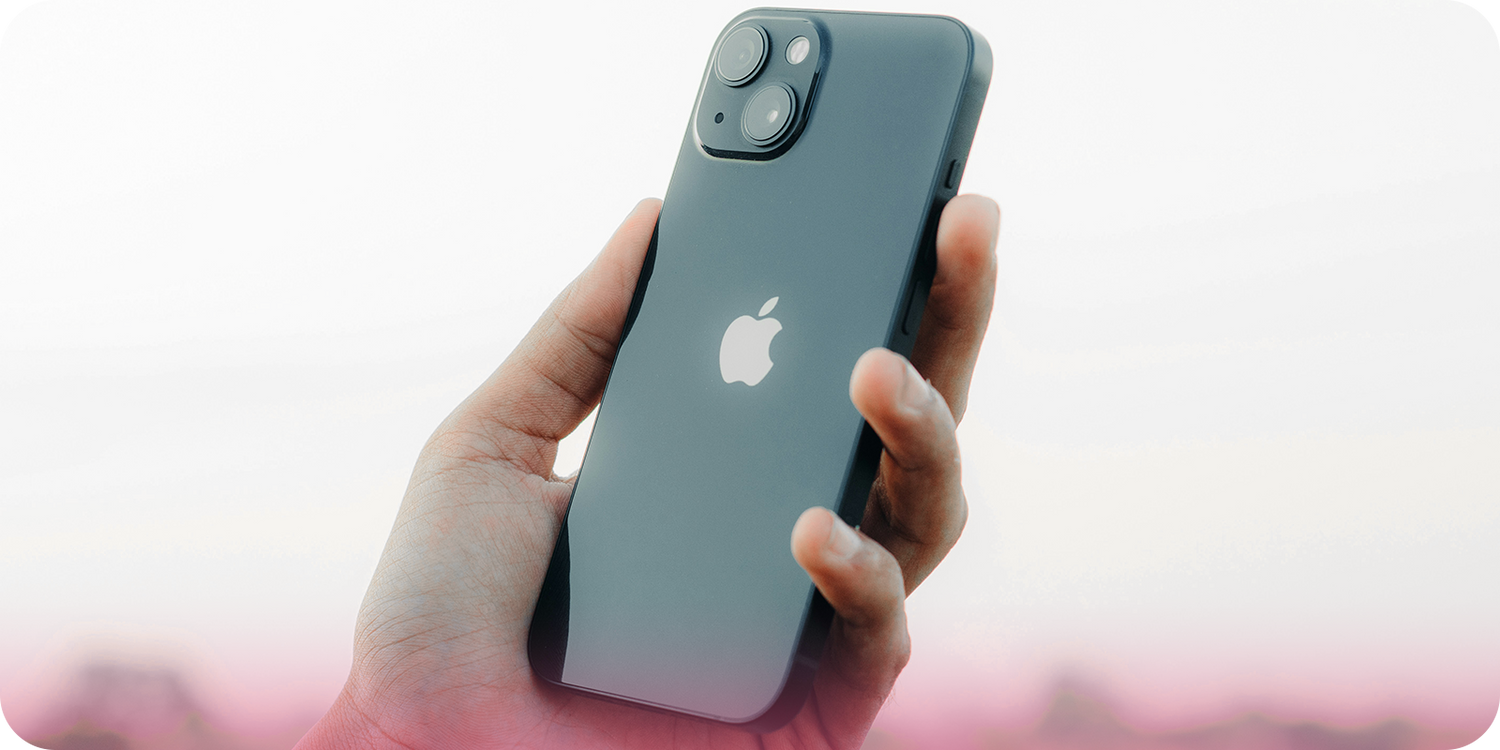
How to install an eSIM on my iPhone or iPad?
In this iOS guide, iPhone & iPad users will learn the concise steps to set up an eSIM. We’ll cover the key features of this service to ensure proper usage on your iOS device.

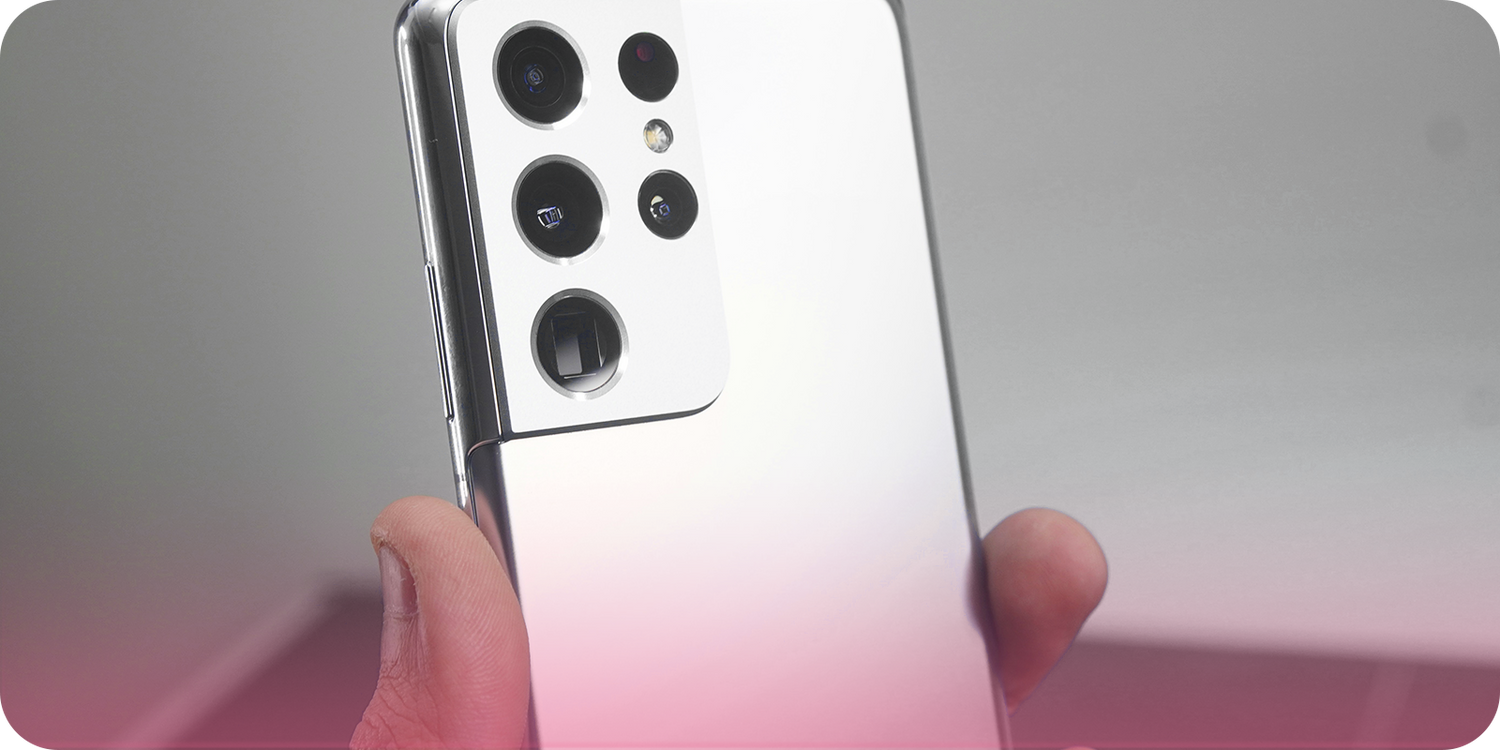
How to install an eSIM on my Samsung?
In this guide, Android users will learn the concise steps to set up an eSIM. We’ll cover the key features of this service to ensure proper usage on your Android device.
When will I receive my eSIM?
You will receive your eSIM immediately. After purchasing your eSIM, go to your email inbox and look for our eSimmer email that includes a QR code for installation.
When should I install my eSIM?
Install your eSIM before you depart for your travels. It’s easier to do this where you have a stable internet connection, like at home or work. This way, you won’t need to depend on airport or hotel WiFi. Plus, if you install your eSIM before you leave, it will connect to the overseas network as soon as you arrive, so you can start exploring right away. (Don't try to activate your travel eSIM while you’re still at home, because it won't be able to connect to the overseas networks yet).
How do I install my eSIM?
After you buy your eSIM, we’ll send you an email with a QR code. Print the QR code or send it to another device. When you’re ready, open the camera app on your device and scan the code. You will see a prompt to add a new data plan. Tap the prompt and follow the directions on your device.
Need more help? Check out our step-by-step eSIM installation guides for iOS and Android devices.
How do I activate my eSIM upon arrival?
When you arrive at your destination, we suggest you check your phone settings to make sure that your new eSimmer eSIM is turned ON and the only data source.
Your eSimmer eSIM will automatically activate to the assigned overseas network. (Don't try to activate your travel eSIM while you’re still at home, because it won't be able to connect).
Learn about Roaming Settings in our blog.
When does my eSIM data plan start?
Your eSIM data plan is ready to roll as soon as you connect to the mobile network in your destination country! The first activation is when your travel SIM plan starts, and you can enjoy your data allowance for its full duration, either 10 or 30 days.
How do I change my eSIM name / label?
Depending on how your phone instals your new travel eSIM, it may be labelled as either 'Travel' or 'Secondary'. This can make things confusing, especially if you end up using multiple eSIMs for different countries.
It only takes a second to re-label an eSIM on your phone, and it makes things much clearer to differentiate between multiple travel eSIMs and your home number SIM. (go to Settings > Mobile > Under "SIMs" or "Mobile plans, select your eSIM > Give your eSIM a custom name, like "eSimmer USA")
How do I install my eSIM with the Manual Activation code?
If you are unable to print or share the QR code to scan with your phone camera, don't worry! You can always enter the Manual Activation Code instead. Inside the confirmation email, you will also find the details for the Manual Activation Code.
Need help? Check out our step-by-step eSIM installation guides for iOS and Android devices.
Can I reuse or transfer my eSIM?
You can only use an eSIM on one device. If you remove the eSIM from your phone, you can’t use it again. The QR code for your eSIM is also only for one phone and can’t be used on other devices. But, you can share data between devices with all our eSimmer eSIM data plans by setting up a hotspot from your phone.